This is a simple guide on how to install docker on a Centos 8 virtual machine. This procedure is based on the docker official installation guide which you can find here. I assume you have some basic Linux knowledge.
1. Add ‘yum-utils’ repo
$ sudo dnf config-manager --add-repo=https://download.docker.com/linux/centos/docker-ce.repoRunning sudo dnf config-manager –add-repo=https://download.docker.com/linux/centos/docker-ce.repo, instruct dnf to add the Docker repository to its list of repositories, allowing the installation of Docker packages using dnf on CentOS.

Verify that the repo is added successfully.
$ sudo dnf repolist -v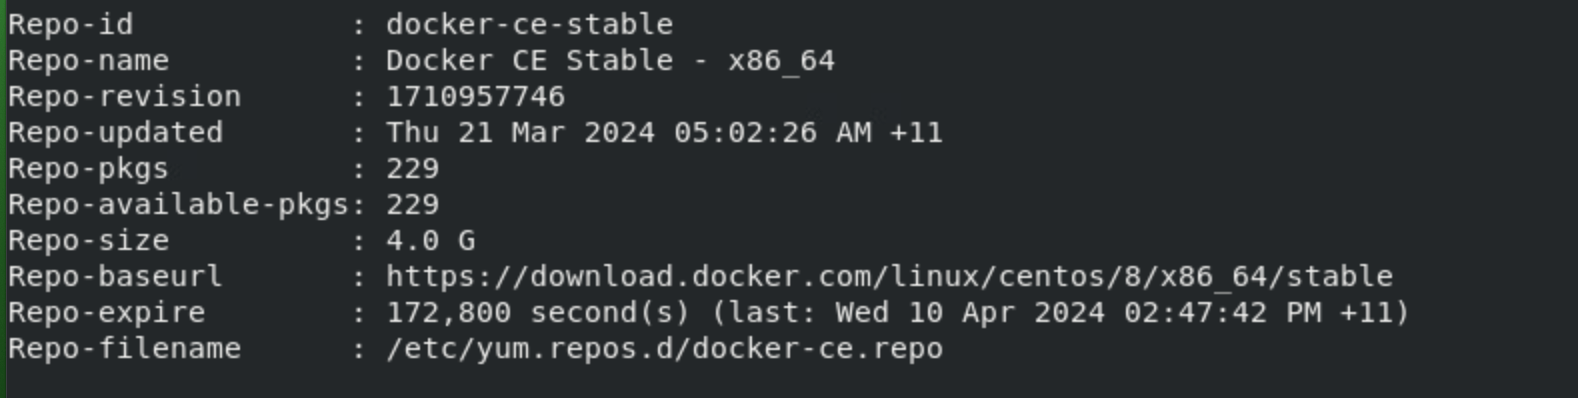
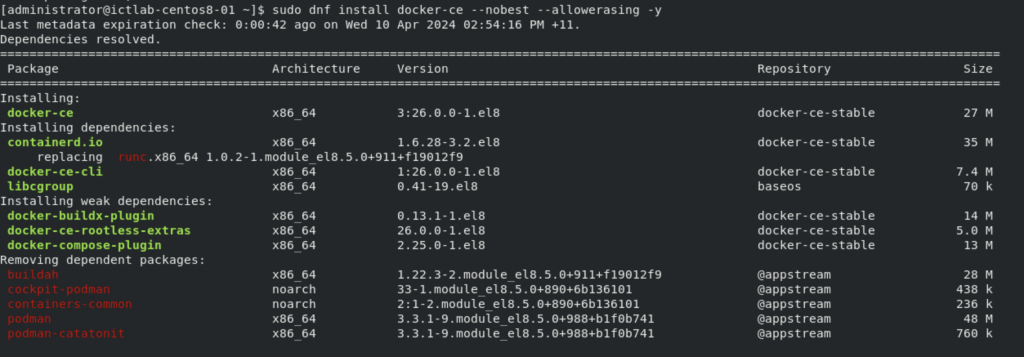
2. Install docker
$ sudo dnf install docker-ce --nobest --allowerasing -yExplanation of the above commands:
- sudo: This is a command used in Linux to run subsequent commands with elevated privileges, typically as the “root” user.
- dnf: This is the package manager used in CentOS 8 and newer versions (replacing yum), used for installing, updating, and removing software packages.
- install docker-ce: This part of the command tells dnf to install the package named docker-ce, which is the Docker Community Edition. Docker is a platform for developing, shipping, and running applications in containers.
- –nobest: This option tells dnf to install the package without considering alternative versions or packages. It ensures that the specified package is installed as is, without trying to find a “better” or newer version.
- –allowerasing: This option allows dnf to erase packages to satisfy dependencies if necessary. It’s useful when installing or updating packages that conflict with existing packages.
- -y: This option automatically answers “yes” to any prompts or questions that dnf might ask during installation. It’s useful for scripting or when you want to install packages without interactive prompts.
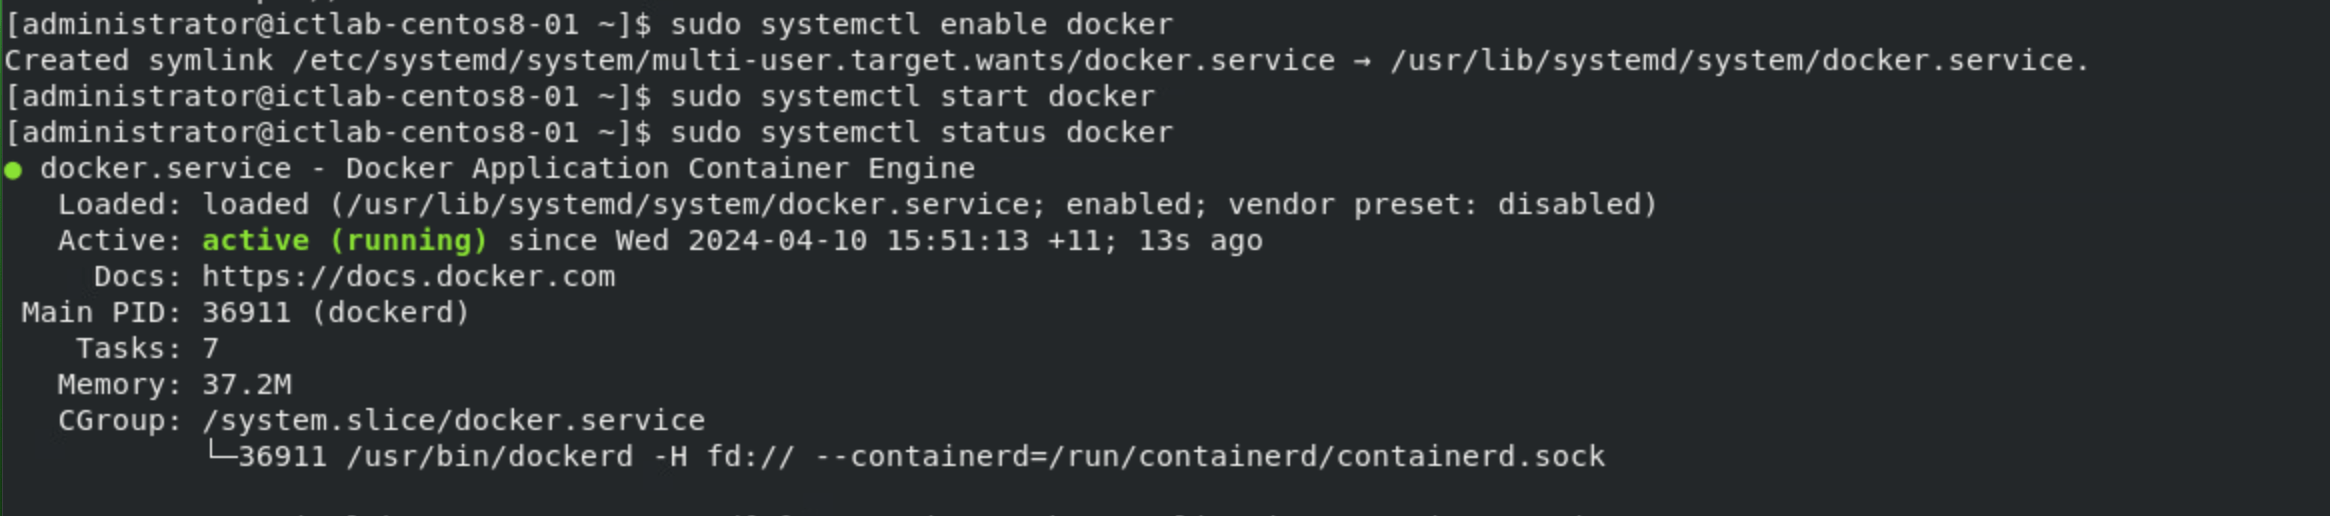
3. Enable and start Docker engine
The final step is to enable and start the docker engine.
$ sudo systemctl enable docker
$ sudo systemctl start docker
$ sudo systemctl status docker