Splunk is a robust platform that excels in searching, monitoring, and analyzing machine-generated big data through an intuitive web-style interface. It captures, indexes, and correlates real-time data, transforming it into a searchable repository. This process enables the creation of insightful graphs, reports, alerts, dashboards, and visualizations, making it an essential tool for data-driven decision-making.
For example, deploying Splunk as a Security Information and Event Management (SIEM) system enhances cybersecurity by detecting threats, automating incident responses, and ensuring regulatory compliance. In this blog post, we’ll guide you through the steps to install Splunk on a Red Hat Enterprise Linux (RHEL) system.
Contents
- System Requirements – Home Lab
- Create a Splunk account
- Install splunk
- Run Splunk as non-root user
- Start Splunk Service
- Enable the splunk user
- Configure firewall rules
- Access splunk web interface
System Requirements – Home Lab
You need to provision a virtual machine or a server to host Splunk. Note, this is for a lab, the maximum data that can be ingested a day is 500 MB.
- 2 vCPU
- 100 GB storage
- 4 GB RAM
If you want to set this up for a big enterprise (with many endpoints), then you need increase your VM’s resources to able to cater for it. I would suggest to check system requirements on splunk website as a guideline for your deployment.
Create a Splunk account
Head over to https://splunk.com/ and create an account.
After that you need to download splunk via https://www.splunk.com/en_us/download/splunk-enterprise.html
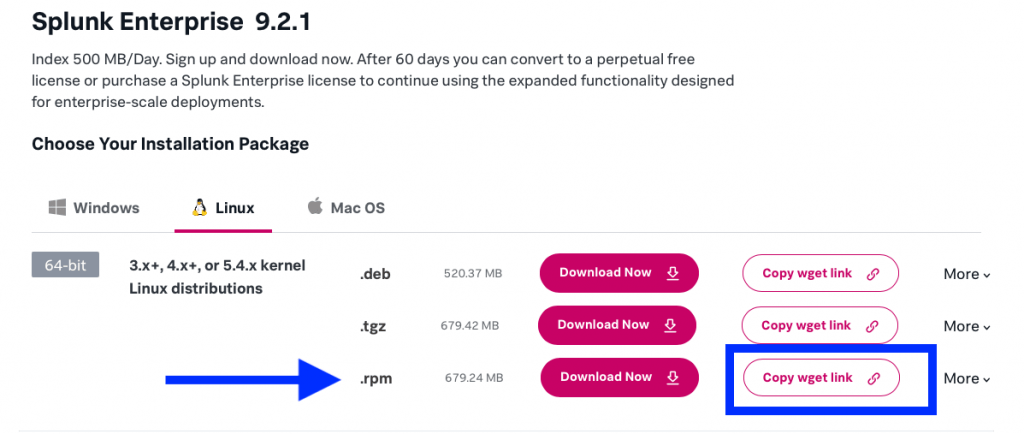
SSH into your VM and paste the code to start downloading splunk.
wget -O splunk-9.2.1-78803f08aabb.x86_64.rpm "https://download.splunk.com/products/splunk/releases/9.2.1/linux/splunk-9.2.1-78803f08aabb.x86_64.rpm"Next step is to make the splunk-9.2.1-78803f08aabb.x86_64.rpm executable. We do this by running the command:
chmod 755 splunk-9.2.1-78803f08aabb.x86_64.rpm Install splunk
We can now install splunk by running the command,
rpm -i splunk-9.2.1-78803f08aabb.x86_64.rpm Run Splunk as non-root user
Splunk is installed on /opt/splunk with a user named splunk.
Running splunk as root is not recommended therefore, you need to switch to the splunk user.
su - splunk You should see your terminal look like this. Note, ictlab-siem is my VMs hostname, yours will be different.
[splunk@ictlab-siem ~]$ Start Splunk Service
It’s time to start the splunk service and accept the license agreement.
/opt/splunk/bin/splunk start --accept-licenseEnable the splunk user
You will be prompted to enter admin account name and password during this stage which will be used to log in to the splunk web interface. Once that done, configure Splunk to start automatically as a service, using the specified user account (splunk in this case) to run the Splunk process.
/opt/splunk/bin/splunk enable boot-startConfigure firewall rules
Final step is to open the following ports on the host firewall. Those ports are used by splunk for web, management and indexing.
- 8000 – Web
- 8089 – Mangement
- 9997 – Indexing
firewall-cmd --add-port=8000/tcp --permanent
firewall-cmd --add-port=8089/tcp --permanent
firewall-cmd --add-port=9997/tcp --permanent
firewall-cmd --reload
You can explicitly pass a –zone flag otherwise, it will default to public [–zone=public].
Access splunk web interface
Splunk will finishes up by validating all its configuration, once successful you will be shown a link to access the splunk web interface.
http://<hostname or IP>:8000/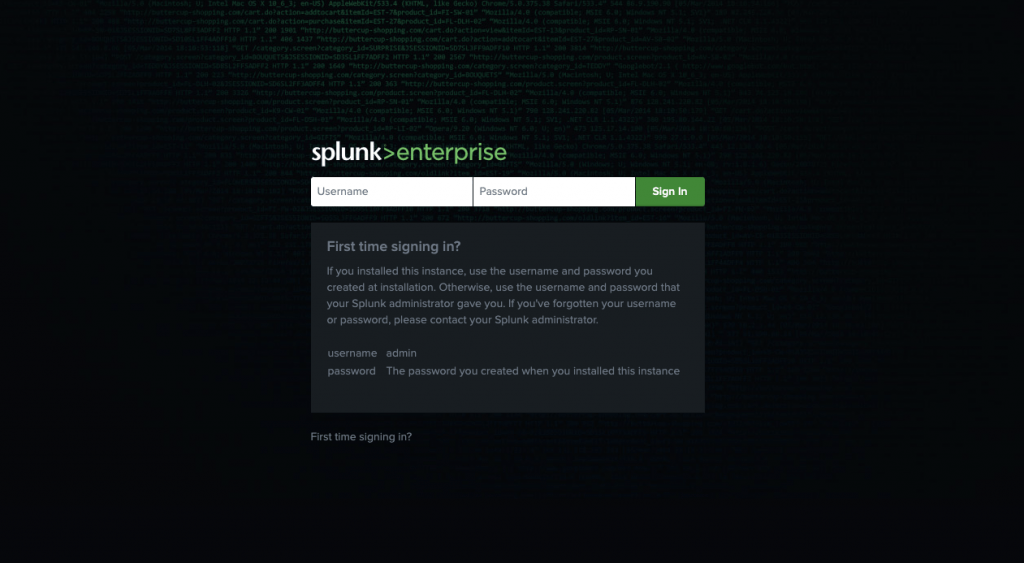
Use your admin credentials created in previous step to log in. If successful, you should see the dashboard.
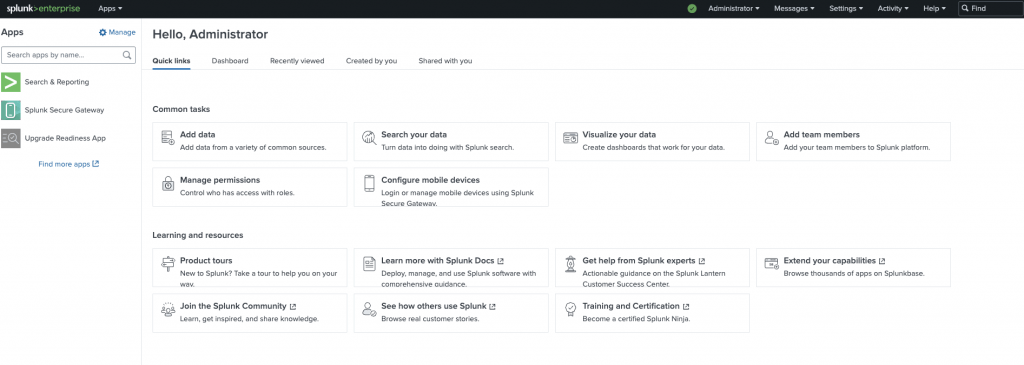
Congratulations! Your splunk is installed and running. My next tutorial will cover how you can deploy splunkforwarder on your servers and computers to start ingesting data into splunk.
